Saturday Morning Staples: the Puff Pastry Post

As an absolutely fabulous A-list homosexual, I had of course planned to use this post to review the latest Madonna album. But then I realized that after my last post, which was dedicated entirely to politics, if I were to venture into the realm of popular music, my readers might think that I'd entirely abandoned writing about food. And then, earlier this week, while reading another blog, I was inspired to both make puff pastry and write about making it. Which is a very good thing, because while I have nothing against Madonna, I don't own any of her albums, I haven't heard anything from the new album, and I don't even know why a lot of the gay bloggers call her "Madge." I could probably state, with relative certainty, that her new album is round, but I reckon that review could be considered less than insightful, so let's talk about puff pastry and everyone will be happier.
One can only presume, from all of the fear and loathing that have been inspired by puff pastry, that someone somewhere (is there a bakery cabal operating beneath the radar?) has an interest in making otherwise competent cooks think that puff pastry is an Everest that they're likely to die upon. Nothing could be farther from the truth. You do have to follow a few guidelines, and you do have to take a certain amount of care at important steps of the process, but all in all, I find making puff pastry easier than making pie dough.
I hear that Williams-Sonoma is now selling all-butter puff pastry for $40 a pound. To which I can only say, "Egad!" This morning, I made 54 ounces of puff pastry in an hour and a quarter at a cost of less than $8. I say this not to brag but to demonstrate that even if you try to do what I did and you fail horribly (and there's no reason why you shouldn't succeed magnificently), you will really have invested very little. So be fearless. You have little to lose.
A few basics. The entire process will be much easier if you have a pastry marble. Mine is 18 x 24 and cost me some ridiculously small amount of money ten or twelve years ago. If you don't have a pastry marble, you can use your countertop. Before you begin rolling, you may want to rub ice cubes across your rolling surface and then dry it well. You'll also want a large rolling pin. My large rolling pin is missing, so I used my 12-inch marble pin, and I really wished I'd had my giant wood one. It didn't have an impact on the final product, but I fell much more confident with the bigger one. A dough scraper is very useful for helping with the turns.
You want to keep everything as cold as possible. If the dough starts to heat up, or becomes difficult to work with, or you start to feel harried, put everything back in the refrigerator for a bit and take a break. Don't be afraid to use extra flour in the rolling. You don't want a ton of excess flour, but you don't want the dough to stick, either. If the flour ever cakes up on the dough, you can always brush it off.
 You will need 6.5 sticks of butter, 4 cups of all-purpose flour (measured by the dip and sweep method), and a cup of ice water. If you are using unsalted butter, you will also need a teaspoon of salt.
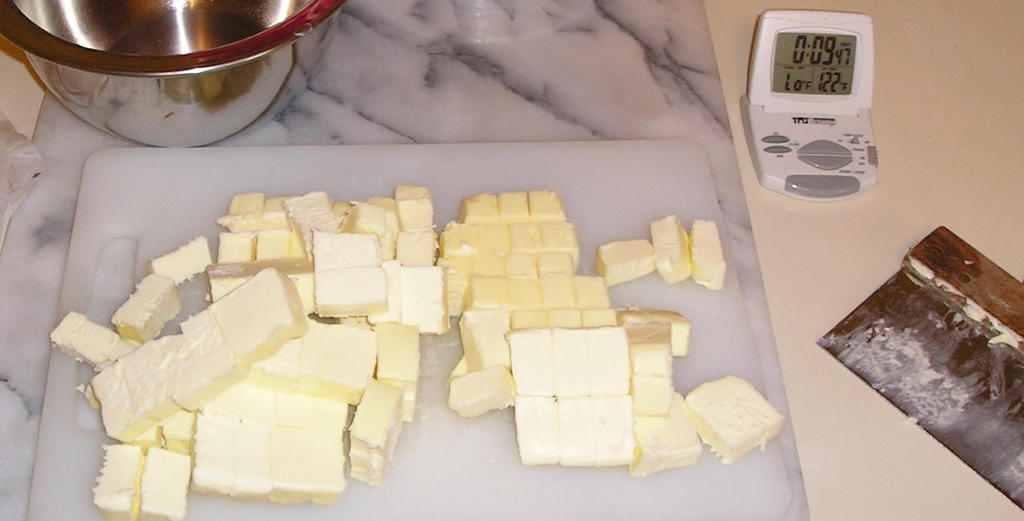 The first thing you want to do is cut your butter. I use the dough scraper for this task. Cut each stick in half, lengthwise, and then cut crosswise into eight pieces. You can make the crosswise cuts for four sticks of butter at once with my dough scraper, which I believe is the most common size of dough scraper. When the butter is cut, gather it into a metal bowl and put it in the freezer. Measure the flour into the bowl of your stand mixer, add the salt if you're using it, and put the flour in the freezer while you get the ice water ready.
  Put the paddle attachment on your mixer. Add the butter to the flour and mix on the lowest speed for perhaps a minute. Some of the butter will blend into the flour, but there will still be large lumps of butter that only get coated by the flour.
 With the mixer on low, add the ice water in a stream. The dough should form almost immediately. When you have a single big mass, you're ready to remove the dough from the mixer. It will be fairly sticky now, so make sure that you're hands and your marble are fairly well floured. Also, don't worry. It gets much easier to work with soon.
  Put the dough mass out on your pastry marble. If you are a fan of zombie movies, this is a good time to stick your arms out straight and say "Braaaaainnnnns!" Otherwise, keep going.
 Knead the dough lightly and flatten it out into a rectangle. Dust your rolling pin with flour, and roll the dough out into a rectangle that is about 18" long and 8" wide. Don't worry about being too exact, but the more even your rectangle, the easier it will be to make the folds. Rolling should not take a lot of pressure here, and you want to work as quickly as you can. If it's taking you longer, don't worry about it, but you may need to refrigerate your dough more times during the process.
 Using your pastry scraper, fold the third of the dough farthest away from you back onto the middle third. Then fold the nearest third on top of that, so that the whole thing is folded like a business letter. You have now made one turn.
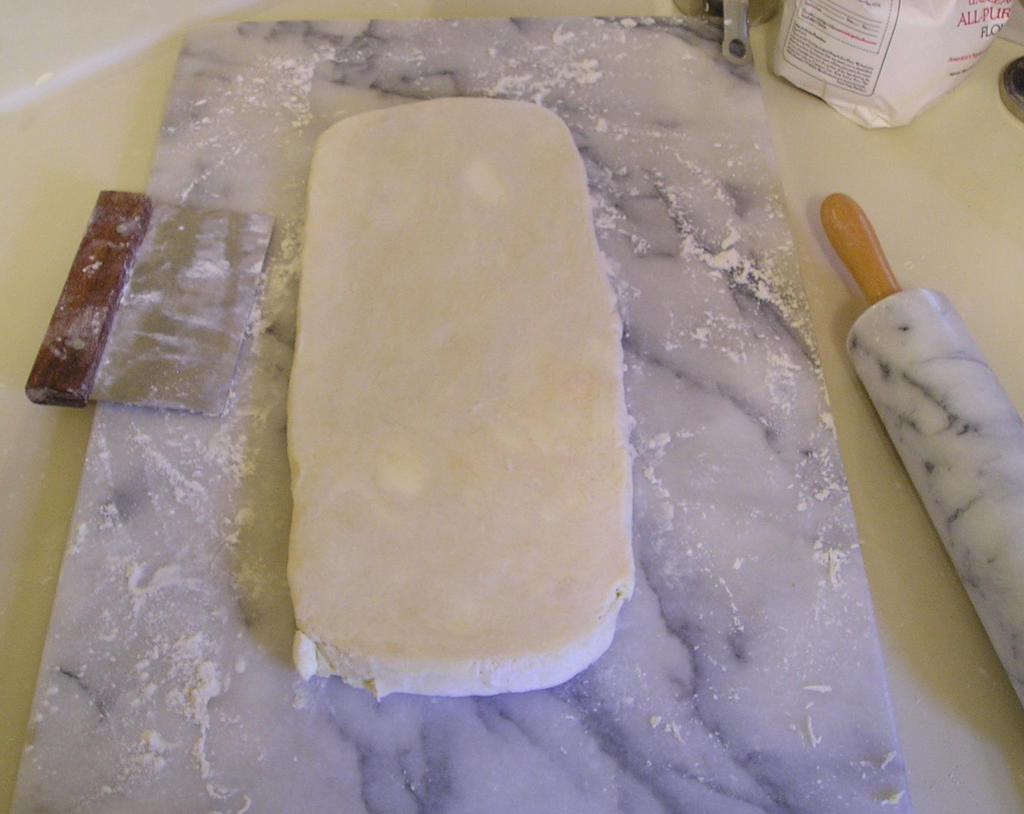 Flour the dough and the marble lightly again. Flip the dough over so that the seam is on the bottom and roll the dough back out to 18x8 again. Then fold it up the same way to complete the second turn. Flour and flip the dough again.
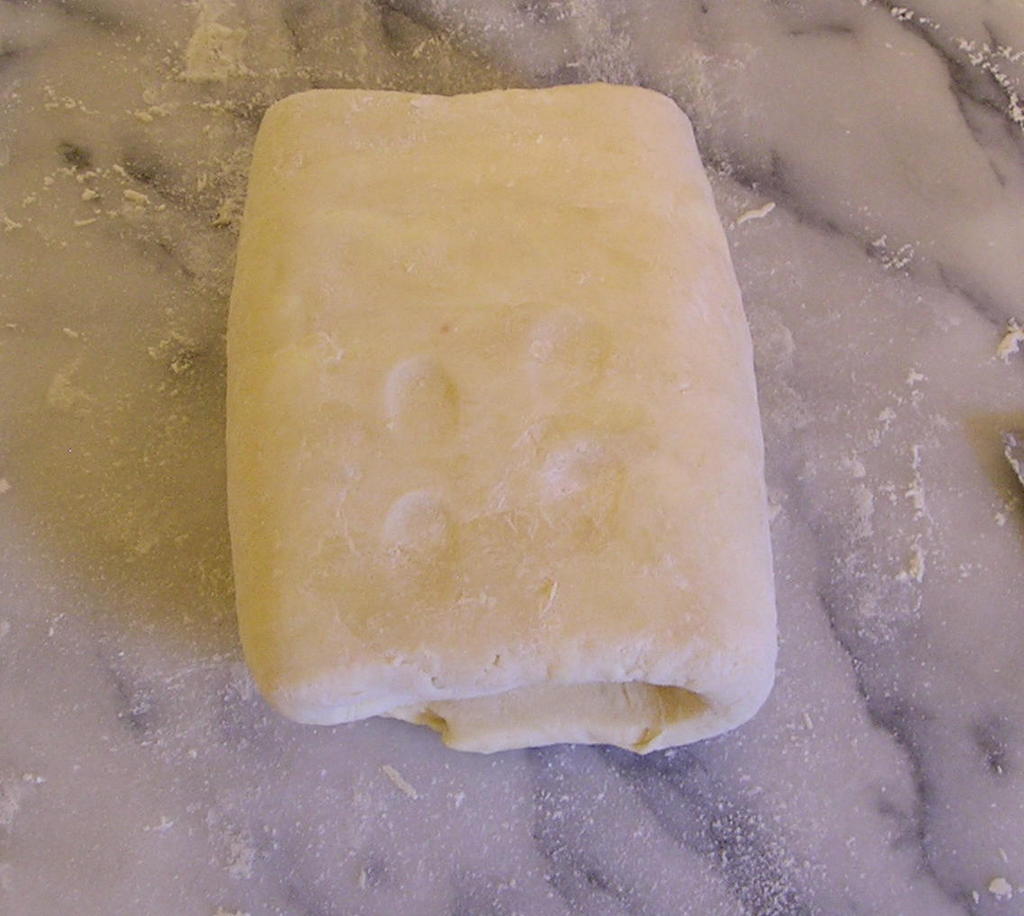 Roll the dough out and fold it up two more times to complete four turns. It is traditional, though unnecessary, to mark the number of turn in the dough by lightly pressing with your fingertips to form indentations. With each turn, the dough should seem more like something you want to work with and less like a gooey mass of butter and flour.
 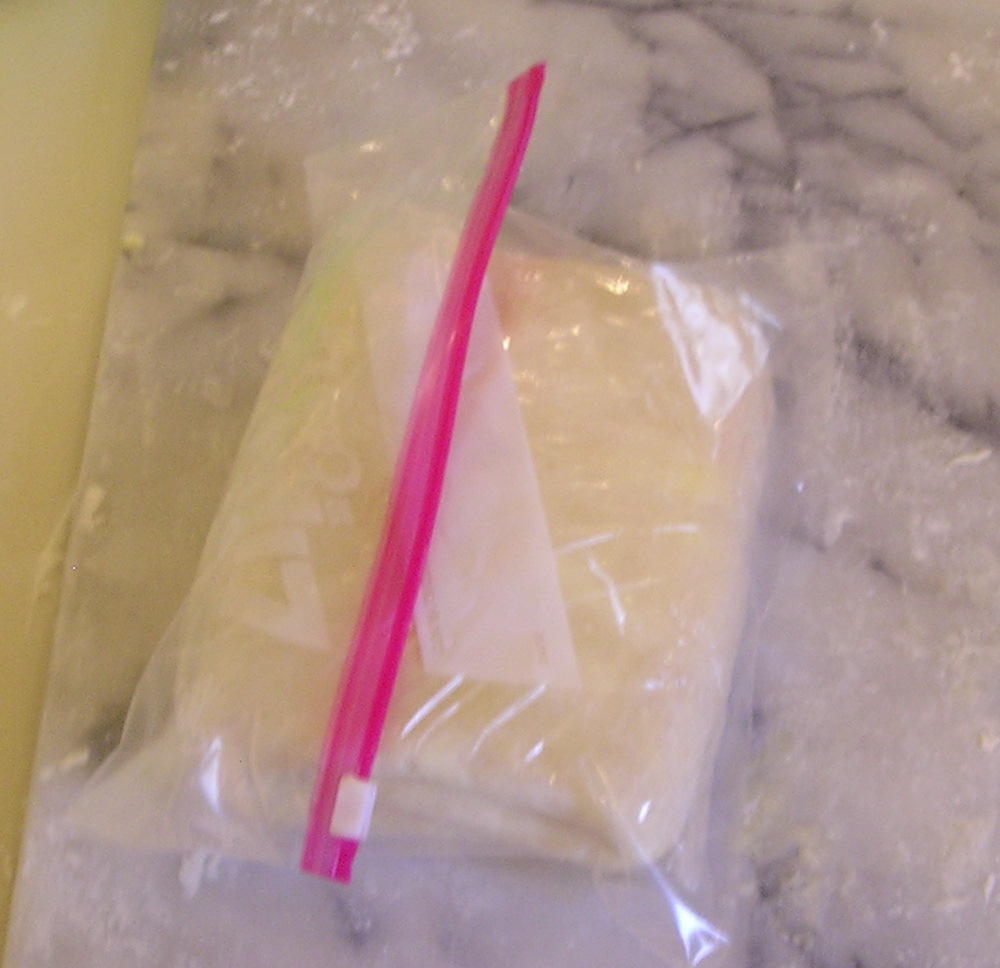 After the fourth turn (or sooner, if you feel that the dough is warming up or becoming difficult to work with), wrap the dough up carefully and refrigerate it for at least a half hour. You don't want your dough drying out, so wrap it carefully in plastic wrap and then either wrap it in a second sheet of plastic wrap or put it in a ziplock bag and put it in the refrigerator.
 Roll the dough out and fold it up two more times to complete six turns. In the later turns, some of the butter will occasionally come through the dough and get sticky. Just sprinkle some flour on it and keep going.
  Unless you plan to use all of the dough at once, you'll probably want to cut it into three pieces. After making such lovely dough, it will be difficult to cut up, but you will get over it eventually. Remember that the dough is much thicker now than it will be when you actually make something with it, so these three relatively small sheets will become much larger pieces of dough for you to work with.
  Wrap each piece separately and carefully in plastic wrap. If you are going to use one or more of the pieces within the next day or two, store those pieces in the refrigerator. Otherwise, place the pieces you're not using immediately inside a freezer bag and store them in the freezer.
Several additional notes are in order here. In the past, I have always used 3 cups of all-purpose flour and 1 cup of cake flour. I thought I had cake flour, but I didn't, so I used only all-purpose flour. It worked just fine. In the picture at the beginning of the post, you see four rounds that were cut from the leftovers (after I had made something larger) of one of the three sheets of dough that I made this morning. They puffed admirably (from about 1/4 inch thick when they were cut to about 2.5 inches when they were done baking), though perhaps I could have cooked them a minute less than I did (they were at 425 degrees for about 25 minutes). I don't, however, think that puff pastry is at its best when it's light brown or golden brown. It will be soggy if you undercook it, and you don't want that. I will say that the flavor of my puff pastry was not perfect. Apparently, even when you buy the four-pound pack of butter from Costco, it's not safe to assume that it's salted butter. I didn't bother reading the package until I had baked some up and it seemed to lack salt, and as a result, only 3 of the 6.5 sticks I used were salted, and I should have added some salt to the flour. It still tasted very good, and the texture was perfect. Very crisp, with excellent puff. I will probably use slightly saltier fillings to compensate for not putting salt in the puff pastry, though.
If you use a lot of puff pastry, it would be a relatively easy thing to make two batches at the same time by using the time when batch 1 is resting to begin batch 2. In that way, you could make 7 pounds of puff pastry in less than two hours and be the envy of all your friends.
The French name for this pastry is pâte feuilletée rapide. As I have probably said before, if you would prefer to make the classique version, more power to you. But then you should expect to take a considerably longer amount of time and to end up with the same finished product. You will, of course, be able to bask in the warm glow of virtue, and, if there is an afterlife, you will likely be rewarded for your troubles. Still, you have to figure that with those extra two hours that you spent in the kitchen making feuilletage the way Escoffier would have approved of, you could have been out helping a neighbor and earning your karma points that way. We all know which option Madonna would choose.
posted by anapestic at 12:57 PM
![]()


5 Comments:
Ack. I have no pastry marble. And my counter is insanitary in the extreme. I usually use a big breadboard sheet when I'm working with flour and need some room to work.
But that won't get very cold, being wooden.
I think I must get a marble. O dear.
$40/pound! boy I could make me some easy money selling puff pastry dough! :-)
Nice set of photos - you lay it out delightfully clearly.
lindy, I'm not entirely sure what a breadboard sheet is, but if you use it to roll pie dough, I'd try it with the puff pastry. Just use a little more flour when you roll it, and refrigerate the dough for twenty minutes after the second turn.
Alternately, if your counter is of the formica variety, spray it with a 10% bleach solution and wipe it off with a clean rag, paper towels, or a sponge that's either new or has been microwaved for a couple of minutes.
As long as you have a surface that's relatively smooth so that you can scrape the dough up off it, you should be fine. You might want to try your first batch on a day when the kitchen's fairly cool, but those days are not so hard to find right now.
Thanks. The pictures are terrific.
I'm going to give this a try soon.
It's in the freezer! Many thanks. I plan to make something with it next weekend. I have high (sorry) hopes.I am very glad I got a pastry marble. It is a major help with rolling out. Also, it is somehow very cute.
I have a smaller Kitchenaid than yours, so there was a bit of a flour storm early on. I resisted the internal pressure to clean it up right away, so that things would stay cold- just kept rolling until it was time for the refrigerator rest. This turned out to be The Right Thing to Do.
Post a Comment
<< Home